How to Run a New Load Test
Run a new load test with LoadFocus
It's quite easy to create a new load test for a website or API endpoint using the UI from the New Load Test page.
Steps to configure a new load test
1. Choose a Test Name
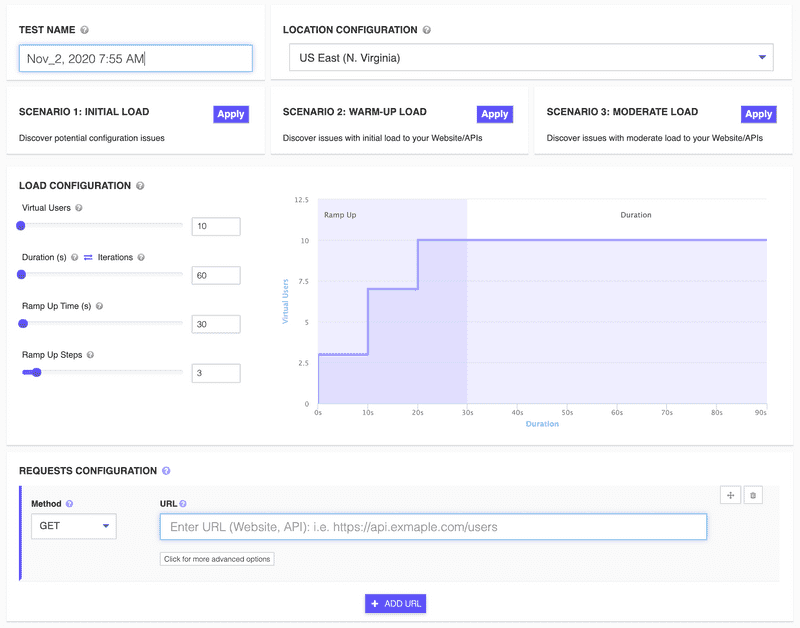
We automatically generate a test name for your test using the current date and time. You can change the test name for your load test by going to the Test Name input field and setting your own name.
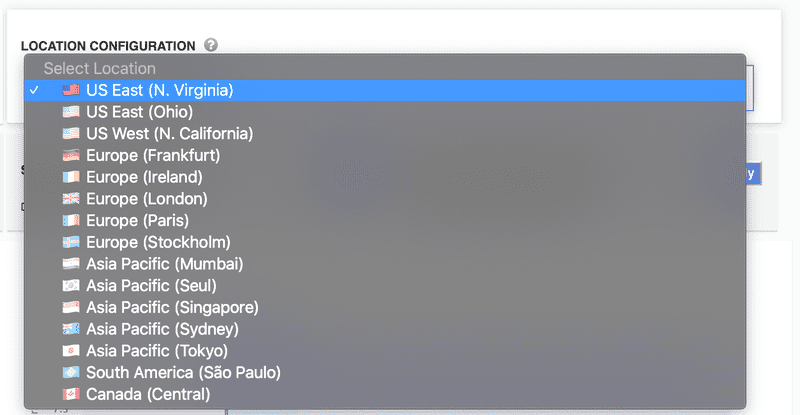
2. Choose a Test Location
The Test Location is the geographical location from where the virtual clients/users will make requests to your Website/API. More details about the locations see here, also whitelisting IPs details can be found here.
3. Load Scenarios
We offer three predefined scenarios to get started fast: Initial Load, Warm-up Load and Moderate Load.
You can easily select any of them just by clicking the Apply button visible in the square box.
4. Test Configuration
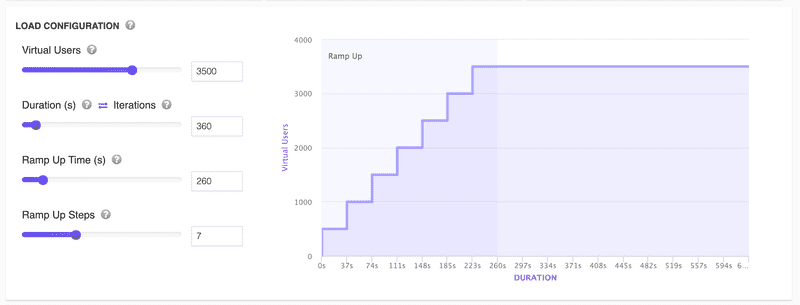
The Load Configuration step is the place from where you set up the number of Virtual Users, Duration or test Iterations and Ramp Up Time and the Ramp Up Steps the test to the desired load. Inspect visually with the chart how your load test will run by viewing the Ramp Up Time and Steps and the Duration of the Load Test.
5. Requests Configuration
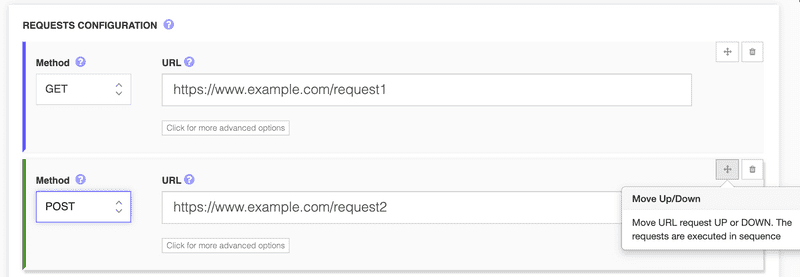
The Requests Configuration is the place to set the URL endpoint (website, API URI, mobile app URL) under tests.
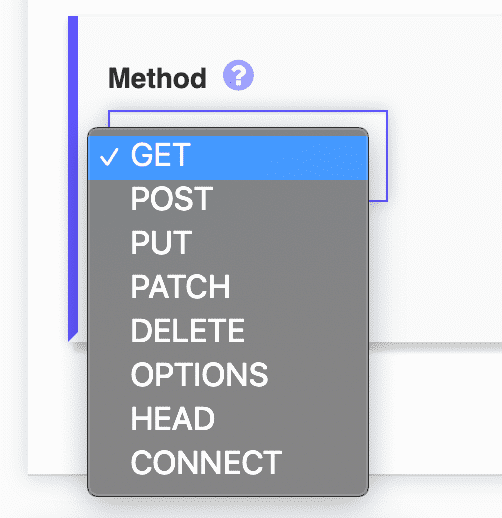
By default, we set the request method to GET (this is the request done when you load a website in a browser), but you can also check other request as per your test scenario.
You can add one or more requests to your load tests. All Virtual Users will hit the endpoints in sequence, so if you want to reorder the requests, you can easily drag and drop them using the right-hand side arrows button.
6. Advanced URL Options
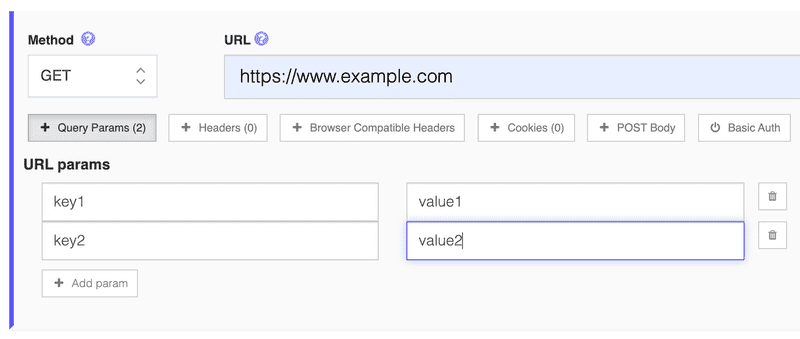
1. Query (URL) parameters
You can add multiple query parameters to your URL by adding key/value pairs.
This will translate in having an URL: https://www.example.com?key1=value1&key2=value2
