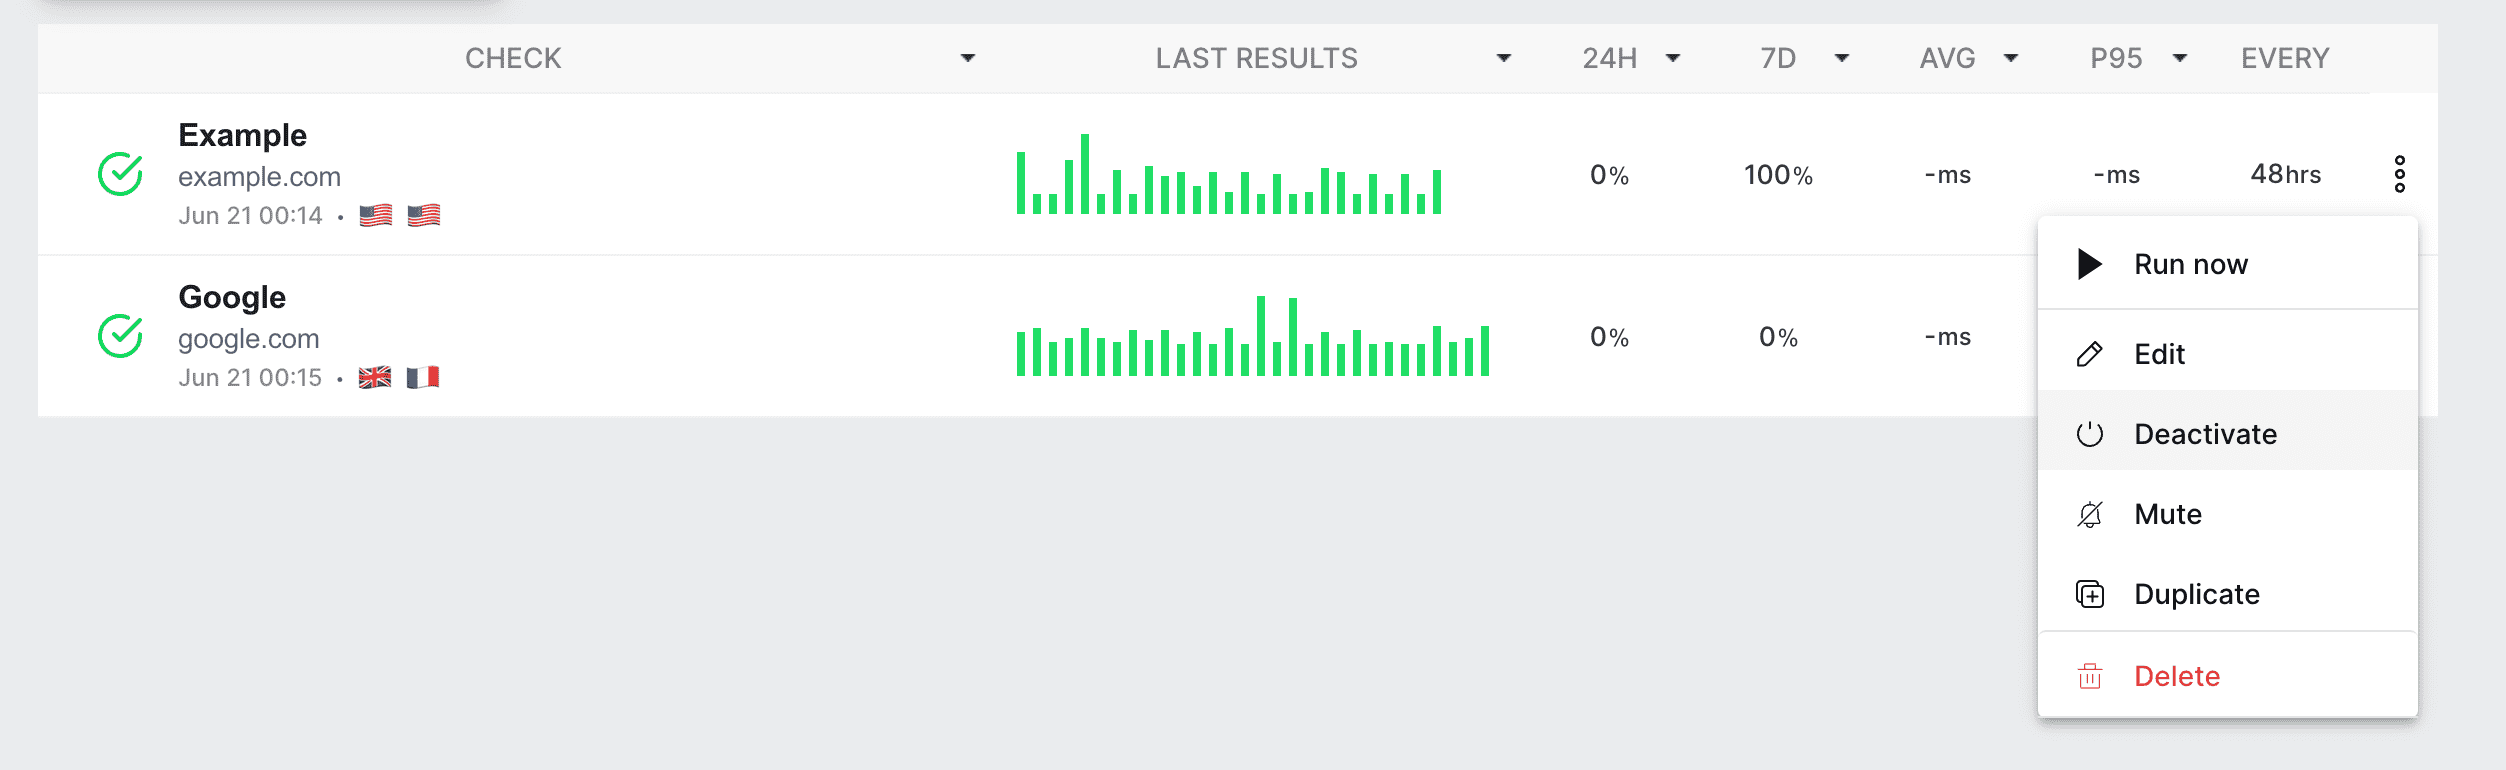
Activate/Deactivate
API Check Activate/Deactivate
What does Activate/Deactivate mean?
The Activate/Deactivate toggle allows you to control whether an API Check is running according to its schedule. This feature is useful for temporarily suspending checks without deleting their configurations, which can be helpful during maintenance windows or when investigating issues.
How to Activate an API Check
- Find the API Check in the list of API Checks.
- Click Activate on its row. The change applies immediately and the check is scheduled again.
You can also tick the ACTIVATED box at the top of the check editor and save the check.
When an API Check is activated, it will run based on the configured schedule. For example, if it's set to run every 5 minutes, it will start running at those intervals once activated.

How to Deactivate an API Check
- Find the API Check in the list of API Checks.
- Click Deactivate on its row. The change applies immediately and the schedule stops.
You can also clear the ACTIVATED box at the top of the check editor and save the check.
When an API Check is deactivated:
- The check will not run based on the configured schedule.
- No monitoring or alerts will be generated for this check.
- The check appears dimmed in the list of API Checks, with a PAUSED label.
Practical Uses of Deactivation
- Maintenance Windows: Temporarily deactivate checks during scheduled maintenance to prevent false alerts. If you still want the checks to run and record results while alerts are silenced, use a maintenance window instead.
- Investigation Periods: Deactivate checks when investigating a persistent issue to avoid unnecessary alerts while diagnosing the problem.
- Resource Management: Deactivate certain checks to manage system load and resource usage more effectively.
Visual Indicators
In the list of API Checks:
- Activated Checks: Displayed normally with their current status and last run results.
- Deactivated Checks: Dimmed and marked PAUSED, so they stand out from active checks.