

Save and Run
Run the check once to see whether it passes, then save it so LoadFocus runs it on your schedule. A saved check can be edited at any time.
Preview the check
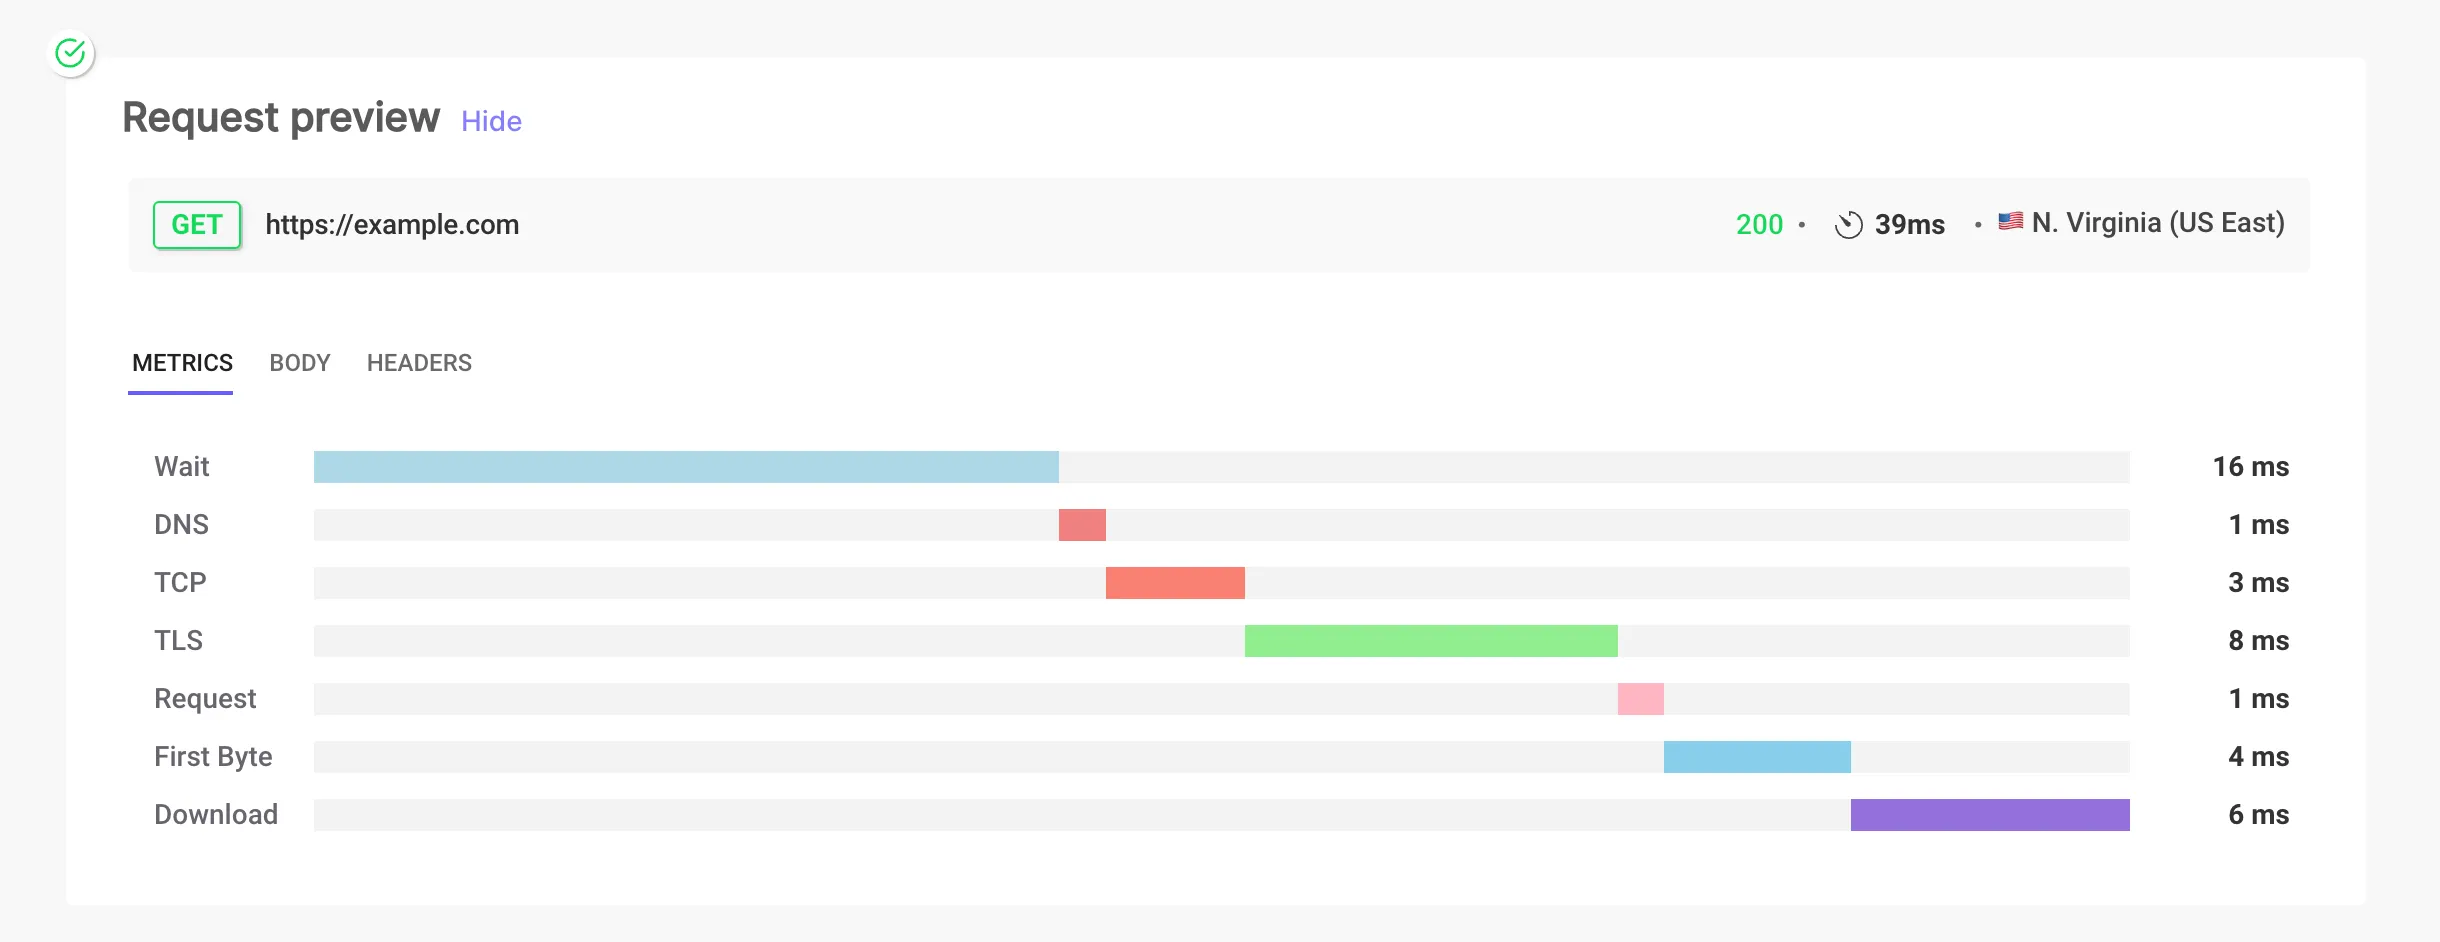
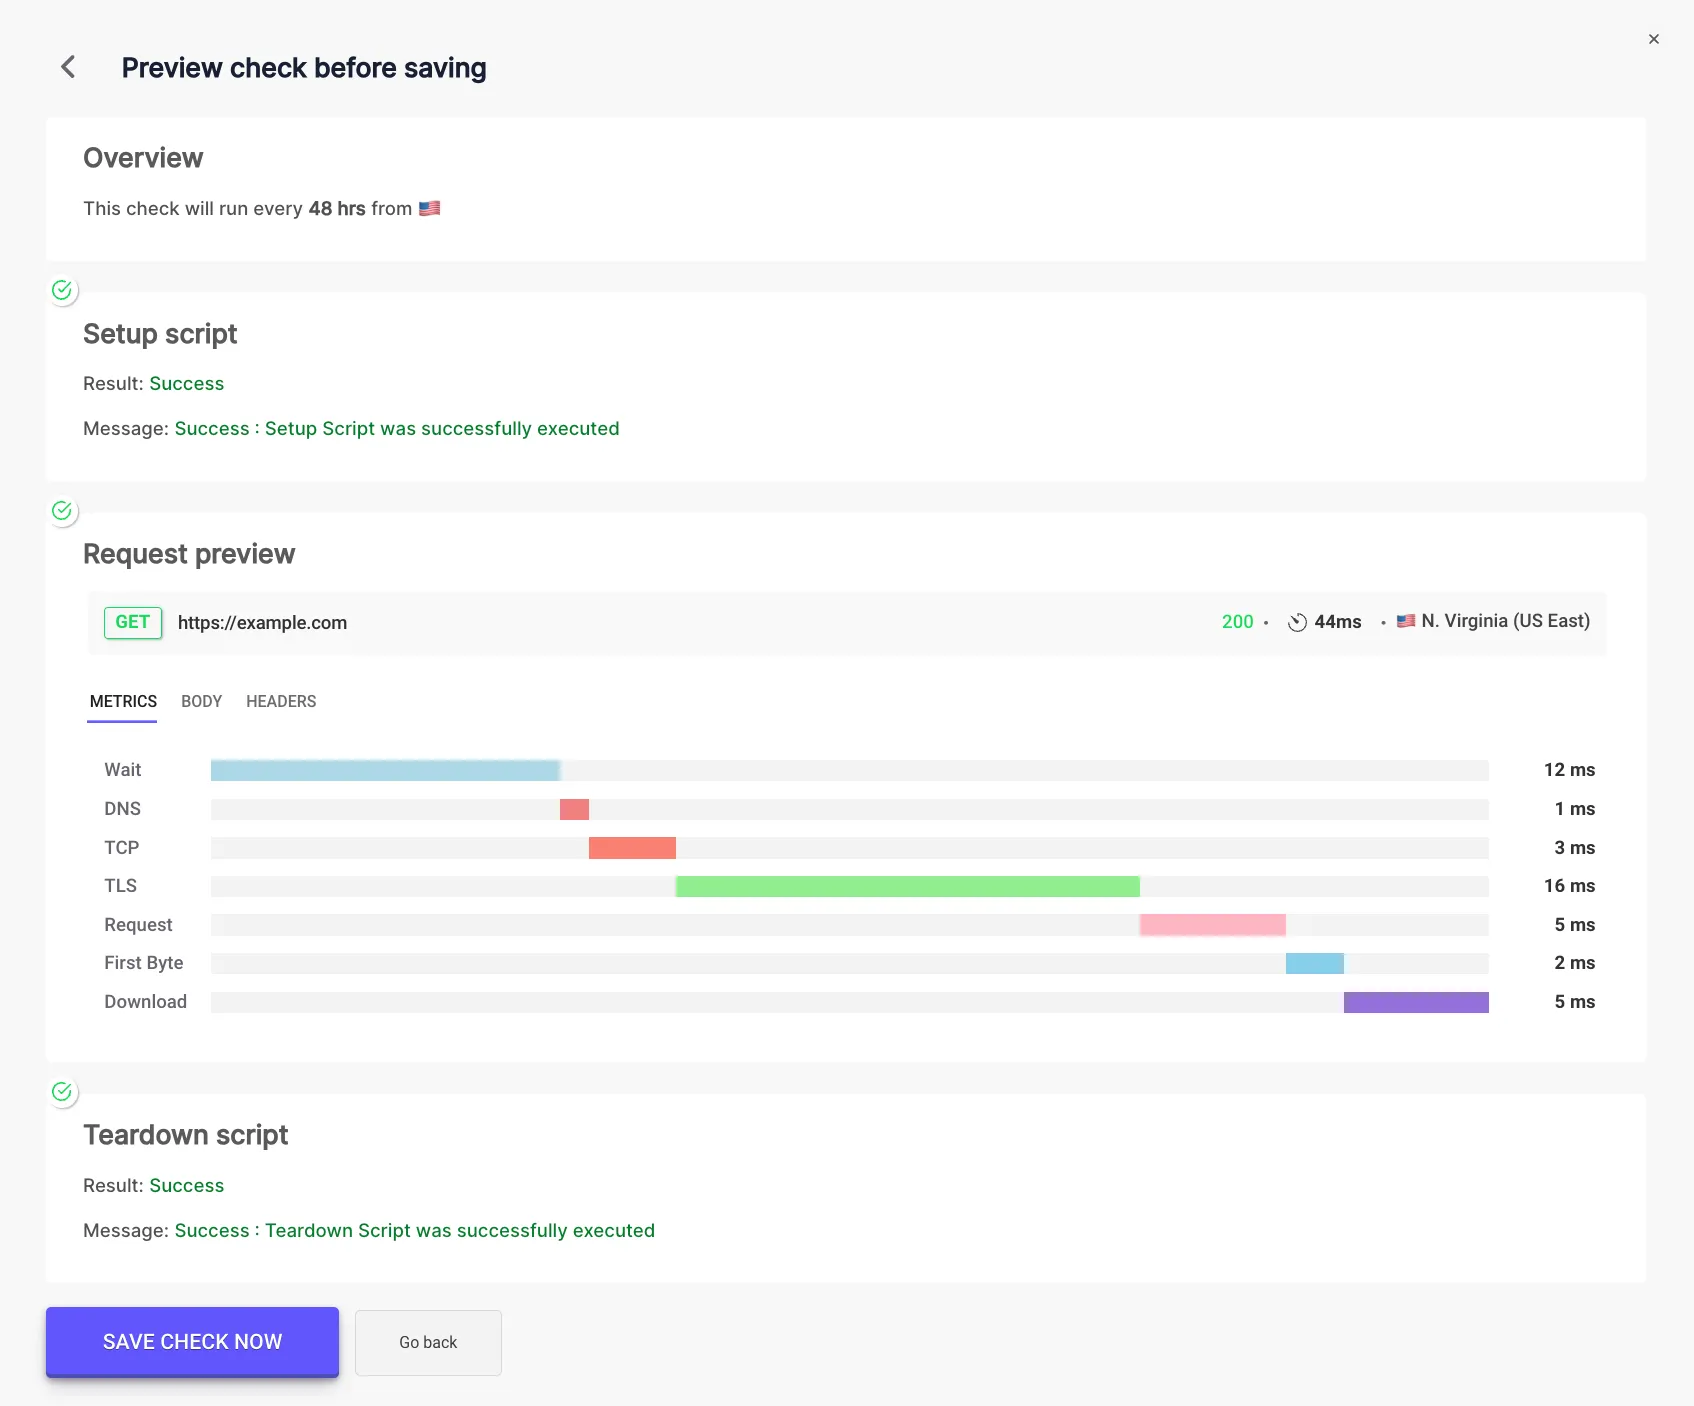
Section titled “Preview the check”- After you configure the request, click Run Check Now.
- LoadFocus sends the request and shows the result: status code, response time, headers and body. See Request Preview for what each part means.
- If the result is not what you expect, click Go back and change the configuration.
Multistep checks have no preview here. Save the check, then open its result page after the first run.
Save the check
Section titled “Save the check”Click Save Check Now. The check then runs automatically at the frequency you chose. The shortest interval depends on your plan: 5 minutes on Free and 1 minute on Starter and Professional.
To run a saved check right away, for example after you change something, click Run now on its row in the check list. While it runs, the button reads Running, and the row's result bars update when the run finishes.
Edit a saved check
Section titled “Edit a saved check”- Open the check from the list.
- Change the configuration, the interval or the alerts.
- Click Save Changes.
You can find all your API checks at the API Monitors page.
Pause a check
Section titled “Pause a check”To stop a check's schedule without deleting it, click Deactivate on its row. LoadFocus stops scheduling runs for it until you click Activate. See Activate or deactivate a check.
Who can save and run checks
Section titled “Who can save and run checks”Team members with the Viewer role can open checks and their results, but they cannot run, change or delete them. They need the User or Admin role for that, which the team owner or an admin can give them (see Teams management).
Before you save
Section titled “Before you save”A check only alerts on what it is told to look for. Before you save, consider adding:
- assertions on the status code or the body, so a page that answers 200 with an error message still fails;
- response time limits, to catch slow responses;
- retries, so a single network blip does not alert you;
- alert channels, so the right people hear about a failure.