We managed to get a 99/100 Performance Score with Google Lighthouse, check the details below how we did it.
Read more on how to run a Google Lighthouse audit.
Is Your Infrastructure Ready for Global Traffic Spikes?
Unexpected load surges can disrupt your services. With LoadFocus’s cutting-edge Load Testing solutions, simulate real-world traffic from multiple global locations in a single test. Our advanced engine dynamically upscales and downscales virtual users in real time, delivering comprehensive reports that empower you to identify and resolve performance bottlenecks before they affect your users.
First of all, you’ll need to install a list of WordPress plugins, activate and configure them.
WordPress Plugins for Optimization:
This will manage your JS, CSS assets and minify the HTML for all pages.
JavaScript Options
Think your website can handle a traffic spike?
Fair enough, but why leave it to chance? Uncover your website’s true limits with LoadFocus’s cloud-based Load Testing for Web Apps, Websites, and APIs. Avoid the risk of costly downtimes and missed opportunities—find out before your users do!
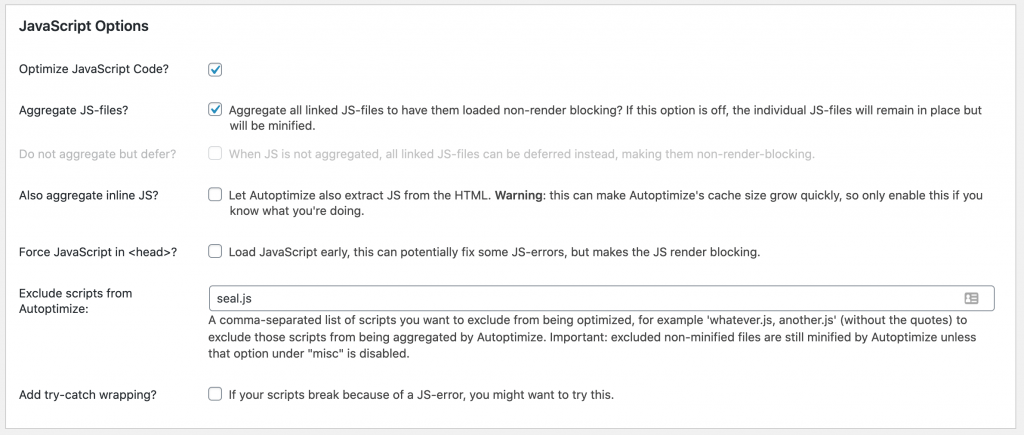
We’ve only ticked the two options here:
| Optimize JavaScript Code? | Yes |
|---|---|
| Aggregate JS-files? | Aggregate all linked JS-files to have them loaded non-render blocking? If this option is off, the individual JS-files will remain in place but will be minified. |
CSS Options
| Optimize CSS Code? | Yes |
|---|---|
| Aggregate CSS-files? | Aggregate all linked CSS-files? If this option is off, the individual CSS-files will remain in place but will be minified. |
| Also aggregate inline CSS? | Check this option for Autoptimize to also aggregate CSS in the HTML. |
| Generate data: URIs for images? | Enable this to include small background-images in the CSS itself instead of as separate downloads. |
| Inline all CSS? | Inlining all CSS is an easy way to stop the CSS from being render-blocking, but is generally not recommended because the size of the HTML increases significantly. Additionally it might push meta-tags down to a position where e.g. Facebook and Whatsapp will not find them any more, breaking thumbnails when sharing. |
| Exclude CSS from Autoptimize: | A comma-separated list of CSS you want to exclude from being optimized. Important: excluded non-minified files are still minified by Autoptimize unless that option under “misc” is disabled. |
HTML Options
| Optimize HTML Code? | Yes |
|---|
Misc Options
LoadFocus is an all-in-one Cloud Testing Platform for Websites and APIs for Load Testing, Apache JMeter Load Testing, Page Speed Monitoring and API Monitoring!
| Minify excluded CSS and JS files? | When aggregating JS or CSS, excluded files that are not minified (based on filename) are by default minified by Autoptimize despite being excluded. Uncheck this option if anything breaks despite excluding. |
|---|---|
| Enable 404 fallbacks? | Sometimes Autoptimized JS/ CSS is referenced in cached HTML but is already removed, resulting in broken sites. With this option on, Autoptimize will try to redirect those not-found files to “fallback”-versions, keeping the page/ site somewhat intact. In some cases this will require extra web-server level configuration to ensure wp-content/autoptimize_404_handler.php is set to handle 404’s in wp-content/cache/autoptimize. |
2. Lazy Load – Optimize Images
Lazy Load displays images and/or iframes on a page only when they are visible to the user. This reduces the number of HTTP requests mechanism and improves the loading time.
3. Heartbeat Control by WP Rocket
Heartbeat Control by WP Rocket allows you to manage the frequency of the WordPress heartbeat API in a few clicks.
This plugin generates static html files from your dynamic WordPress blog. After a html file is generated your webserver will serve that file instead of processing the comparatively heavier and more expensive WordPress PHP scripts.
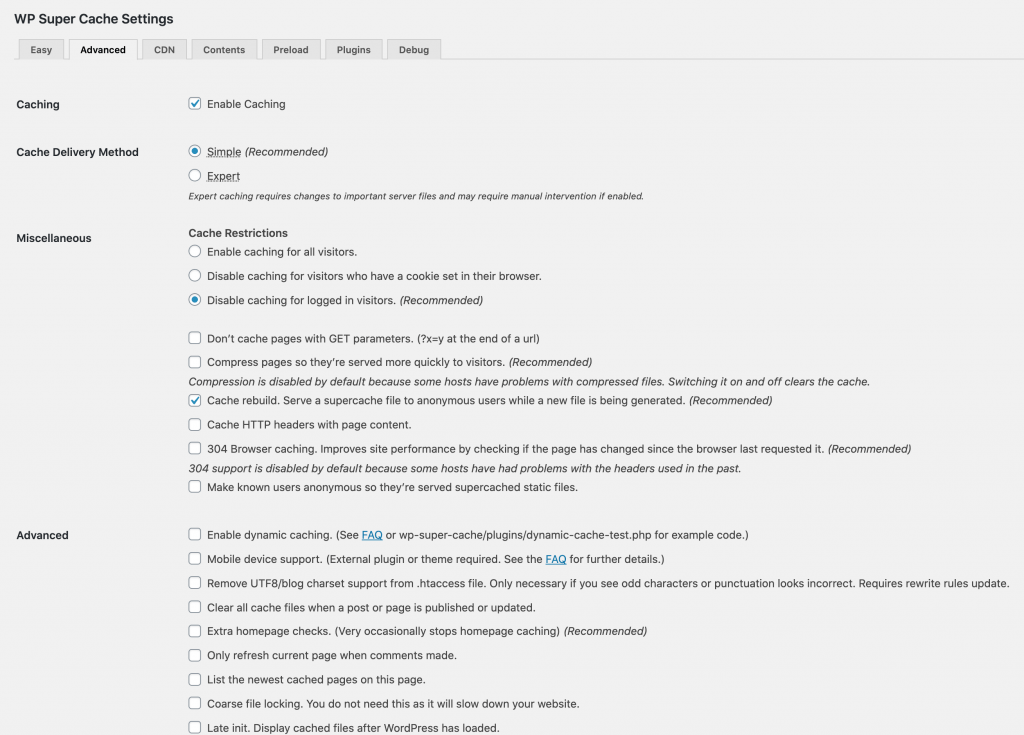
The static html files will be served to the vast majority of your users:
- Users who are not logged in.
- Users who have not left a comment on your blog.
- Or users who have not viewed a password protected post.
After installing all the WordPress plugins above, we selected the options for each one of them. Make sure you are able to change the file permissions for your wordpress files. For this you’ll either need FTP access or SSH access and navigate to where the blog is installed.
For every tweak you make, I suggest to run a Google Lighthouse audit. This will show if the change is taking you in the right direction.
Make sure you invalidate the cache for Autoptimize plugin and WP Super Cache before running new performance audit.
You also run a load test while doing your Google Lighthouse audit, and check your real users experience.
Written by Bogdan Vazzolla.
LoadFocus is a cloud performance, load and stress testing tool which provides the infrastructure to run tests with thousands of concurrent users, from multiple cloud locations, in less than a few minutes, keep history of the results, compare different runs to inspect performance improvements or performance degradation. It also supports running JMeter load tests from the cloud.