
How to Optimize Interaction to Next Paint for Better SEO
Have you ever wondered why some websites load faster and seem more responsive than others? One key metric that can make a big difference is Interaction to Next Paint (INP) ...
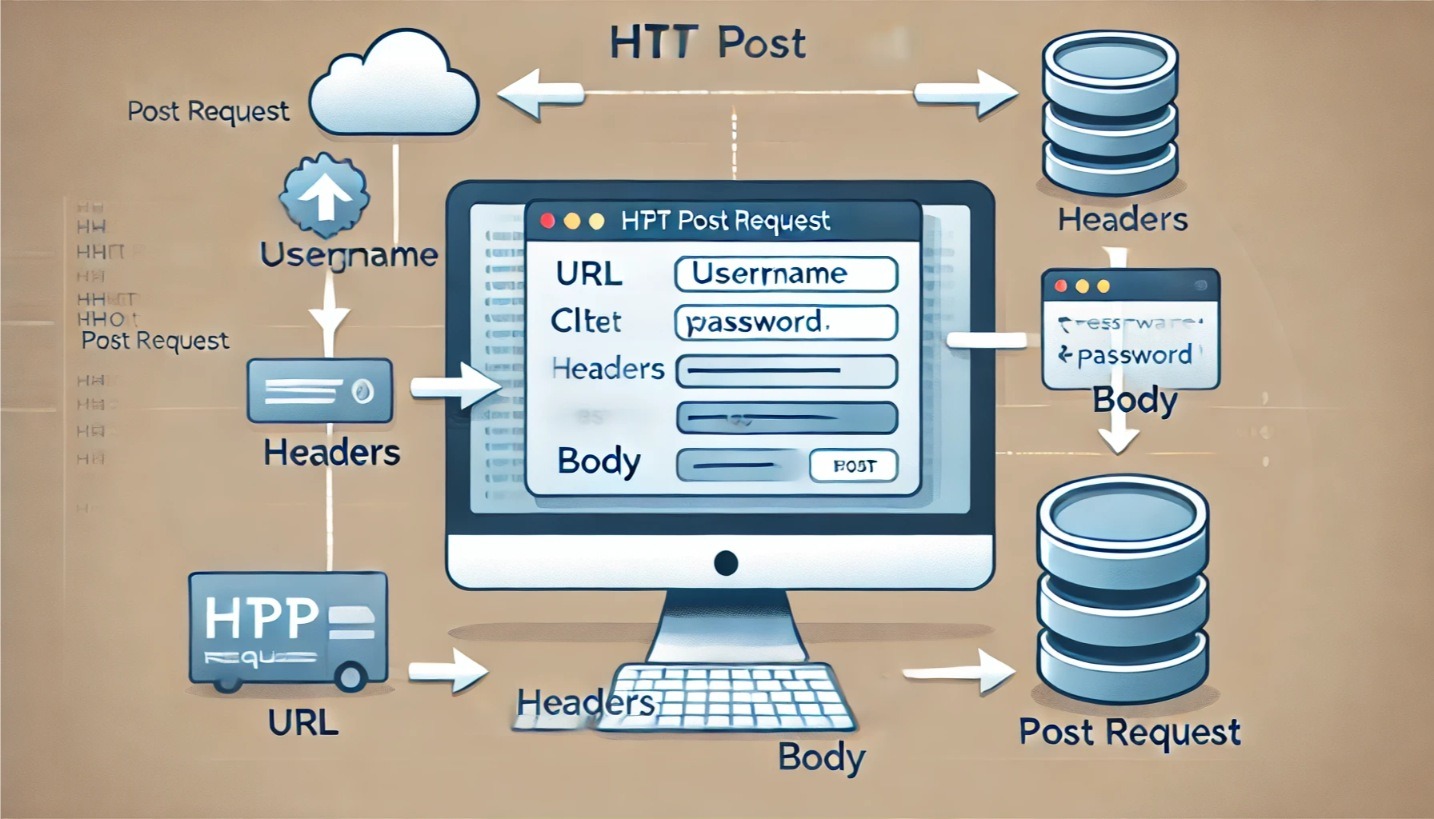
How are Parameters Sent in an HTTP POST Request?
In today's digital age, understanding the intricacies of HTTP POST requests is crucial for anyone involved in web development or digital business. Whether you're a business owner, a software engineer, ...

End to End Testing for Asos.com using TestCafe in Under 30 minutes
In this article, we'll demonstrate how to create End-to-End (E2E) UI tests for the e-commerce platform ASOS across three of their markets (UK, IT, DE) in less than 30 minutes ...
Best Practices for Implementing E2E (End-to-End) UI Tests
LoadFocus - is a easy to use cloud testing tool, and you don't need any setup, it runs from the browser. It helps you understand better your Website's and WebServices' ...
Building your in house Device Farm on Mac OS using OpenSTF for Android Testing
What is OpenSTF ? OpenSTF is an open source project that gives us the ability to create our own test farm with real devices. Using OpenSTF we can create a ...
How to Click on Element with Puppeteer and Chrome
LoadFocus - is a easy to use cloud testing tool, and you don't need any setup, it runs from the browser. It helps you understand better your Website's and WebServices' ...
Mocking APIs using WireMock for testing negative cases when it is not possible to change the API behaviour
Why do we need to mock APIs ? A lot of times when you develop integration tests there is a need to mock different APIs to test for negative cases ...
Structuring integration tests using JUnit categories by features, API or type of tests
Why structure your integration tests ? When the number of integration tests grow is a good practice to separate the tests based on the feature/api that they are testing. The ...
How to Click a Link by Text in Selenium WebDriver Java
Here is how to click a link by text with Selenium WebDriver in Java using the built in WebDriver helper methods or by XPath: Click link by full text using ...
How to Take Screenshots with Puppeteer using Headless Chrome Browser
What is Puppeteer? Puppeteer is Node library that you can use in order to control Headless Chrome with the DevTools Protocol. The Chrome DevTools Protocol allows for tools to instrument, ...