Why do we need to mock APIs ?
A lot of times when you develop integration tests there is a need to mock different APIs to test for negative cases to check how the rest of the platform behaves in that case and it is not feasible to change the API to return errors. This is especially true when you are trying to run the tests against a staging environment which simulates exactly the Production environment.
In these cases we can use WireMock to mock different APIs and to make the API return exactly what response we need for our tests.
Below we are going to run WireMock as a standalone server not as a Gradle or Maven dependency.
Is Your Infrastructure Ready for Global Traffic Spikes?
Unexpected load surges can disrupt your services. With LoadFocus’s cutting-edge Load Testing solutions, simulate real-world traffic from multiple global locations in a single test. Our advanced engine dynamically upscales and downscales virtual users in real time, delivering comprehensive reports that empower you to identify and resolve performance bottlenecks before they affect your users.
How to install WireMock ?
1. Browse to :
http://wiremock.org/docs/running-standalone/
2. Download the standalone jar from :
http://repo1.maven.org/maven2/com/github/tomakehurst/wiremock-standalone/2.14.0/wiremock-standalone-2.14.0.jar
3. After the jar finished downloaded, open the terminal where the jar has been downloaded and run the following command:
java -jar wiremock-standalone-2.14.0.jar
4. In the terminal you should see something like below:
➜ wiremock java -jar wiremock-standalone-2.14.0.jar
SLF4J: Failed to load class "org.slf4j.impl.StaticLoggerBinder".
SLF4J: Defaulting to no-operation (NOP) logger implementation
SLF4J: See http://www.slf4j.org/codes.html#StaticLoggerBinder for further details.
 /$ /$ /$ /$ /$ /$
| $ /$ | $|__/ | $$ /$$ | $
| $ /$$| $ /$ /$$$ /$$$ | $$ /$$ /$$$ /$$$$| $ /$
| $/$ $ $| $ /$__ $ /$__ $| $ $/$ $ /$__ $ /$_____/| $ /$/
| $$_ $$| $| $ \__/| $$$$| $ $$| $| $ \ $| $ | $$$/
| $$/ \ $$| $| $ | $_____/| $\ $ | $| $ | $| $ | $_ $
| $/ \ $| $| $ | $$$$| $ \/ | $| $$$/| $$$$| $ \ $
|__/ \__/|__/|__/ \_______/|__/ |__/ \______/ \_______/|__/ \__/

port: 8080
enable-browser-proxying: false
no-request-journal: false
verbose: false
5. By the default the server will start on port 8080
6. Next we are going to create a mapping for our API using the JSON configuration.
For this we are going to create a JSON file “myApi.json” with the following contents:
{
 "request": {
 "method": "GET",
 "url": "/myApi"
 },
 "response": {
 "status": 200,
 "body": "My API custom response\n"
 }
 }
7. We are going to place the file in the mappings folder that was created in the same place where the wiremock-standalone-2.14.0.jar is located.
8. Restart the wiremock server by running:
java -jar wiremock-standalone-2.14.0.jar
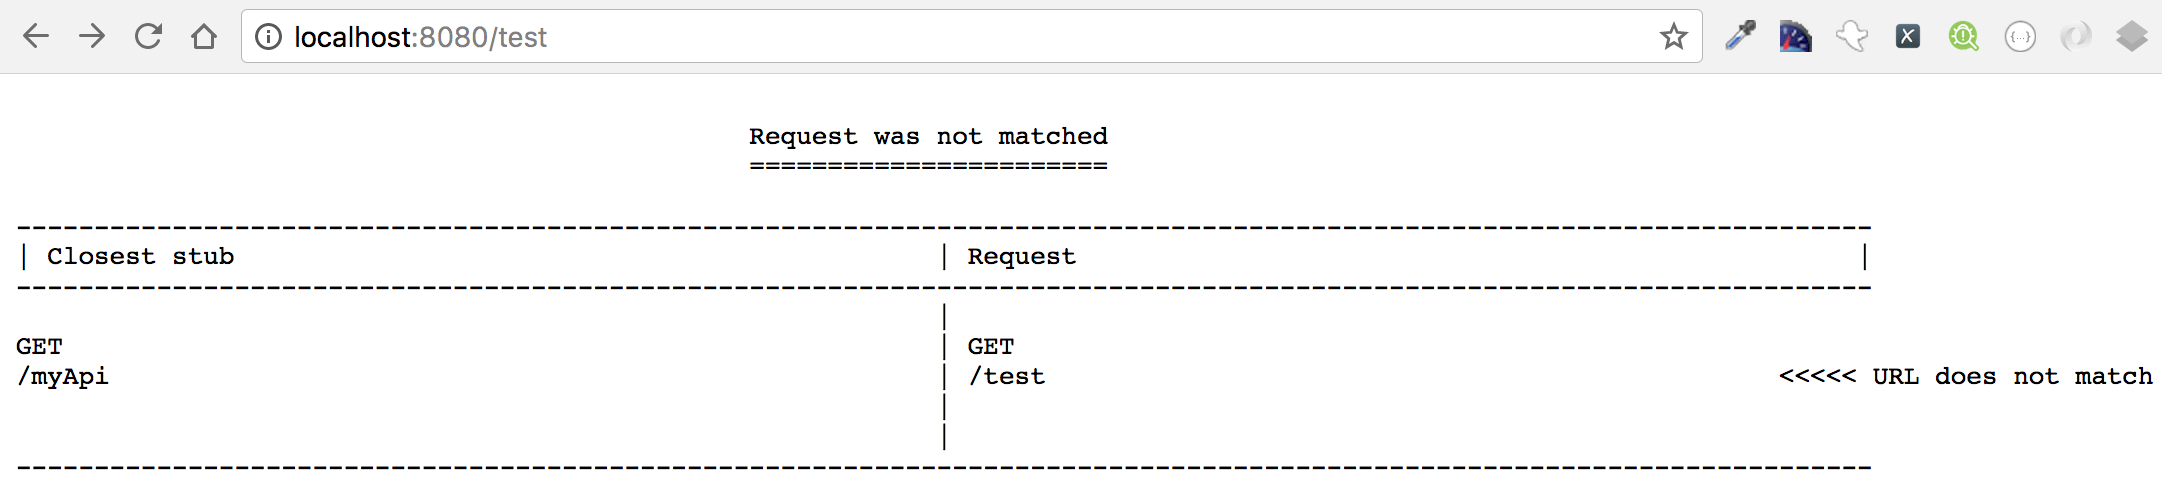
9. Now let’s browse to: http://localhost:8080/test just to test that our API mapping has been picked up.
The page should display something like the below:
Think your website can handle a traffic spike?
Fair enough, but why leave it to chance? Uncover your website’s true limits with LoadFocus’s cloud-based Load Testing for Web Apps, Websites, and APIs. Avoid the risk of costly downtimes and missed opportunities—find out before your users do!
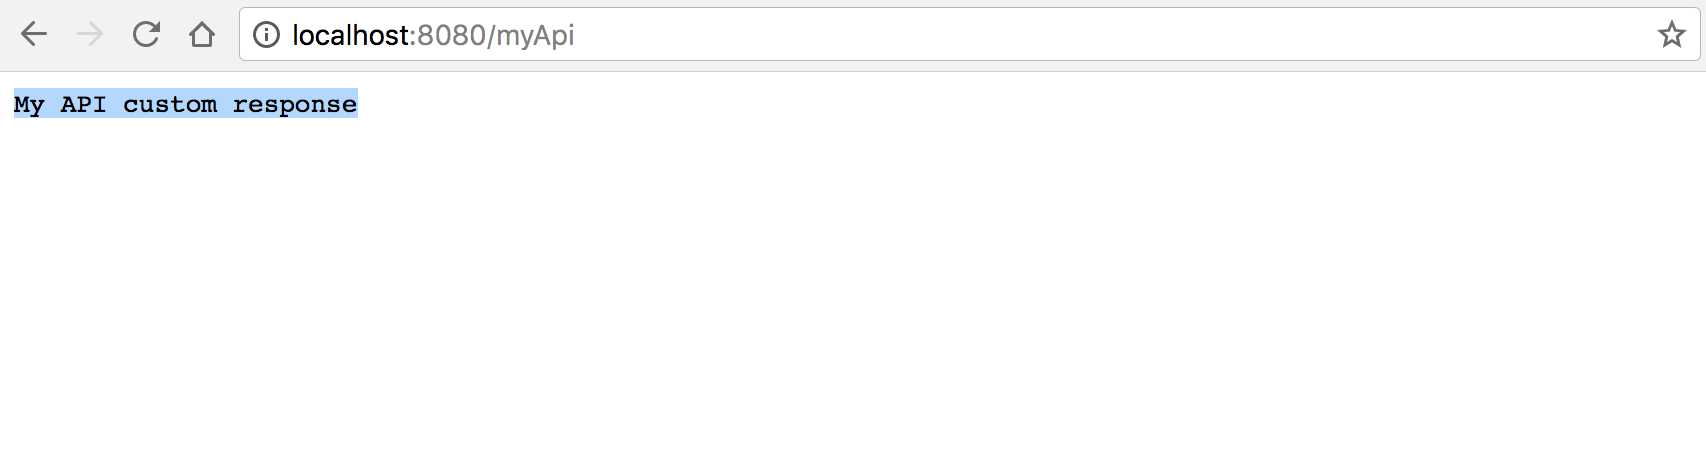
10. Browsing to our mapped API should respond with the configured response (status code 200 and with the body “My API custom response”)