
How To Improve User Experience Using Synthetic Monitoring
Introduction In today’s digital landscape, maintaining a smooth user experience is essential. Websites and applications are expected to perform reliably and quickly, with minimal interruptions. One effective approach to enhancing ...

Chromium vs Chrome in 2025: Understanding the Differences and Choosing the Right Browser
In 2025, picking the right browser for your needs isn't just a personal choice—it's a business decision that can affect productivity, security, and efficiency. If you're wondering about the difference ...

How to Speed Up Your WordPress Site in 2025 (Ultimate Guide)
Introduction Why Speed Matters Website speed is no longer a luxury—it's a necessity. If your WordPress site is slow, you're not just frustrating visitors; you're also risking your SEO rankings ...
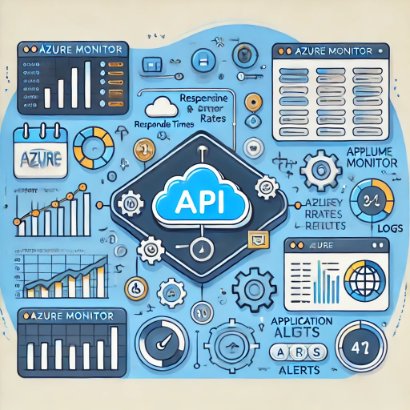
How to Monitor and Check the Performance of an API Deployed on Azure
APIs are the backbone of many modern applications, enabling them to interact seamlessly with other services and platforms. Whether you're running a small app or a large enterprise system, monitoring ...

How to Set Up Domain Expiration Monitoring: A Step-by-Step Tutorial
Introduction Hey there, website owners and tech enthusiasts! Today, we're diving into something crucial for your online presence – how to set up domain expiration monitoring. Imagine your website going ...

Top 10 Tools for Monitoring OAuth Client Credentials Endpoints
When it comes to keeping your OAuth Client Credentials endpoints secure and high-performing, monitoring is crucial. Whether you’re a non-technical business owner, a software engineer, a student, a product owner, ...
Transform Your Business with API Monitoring
Hey there! Have you ever wondered why API monitoring is important for businesses and why your digital services sometimes go haywire? Or why do some users complain about slow performance? ...

From Slow to Superfast: How to Improve Your Website Speed in 10 Easy Steps
Hey there! So, you’ve got a website and you’ve noticed it’s running slower than a snail on a lazy Sunday? Don't worry, you're not alone. Website speed is crucial – ...
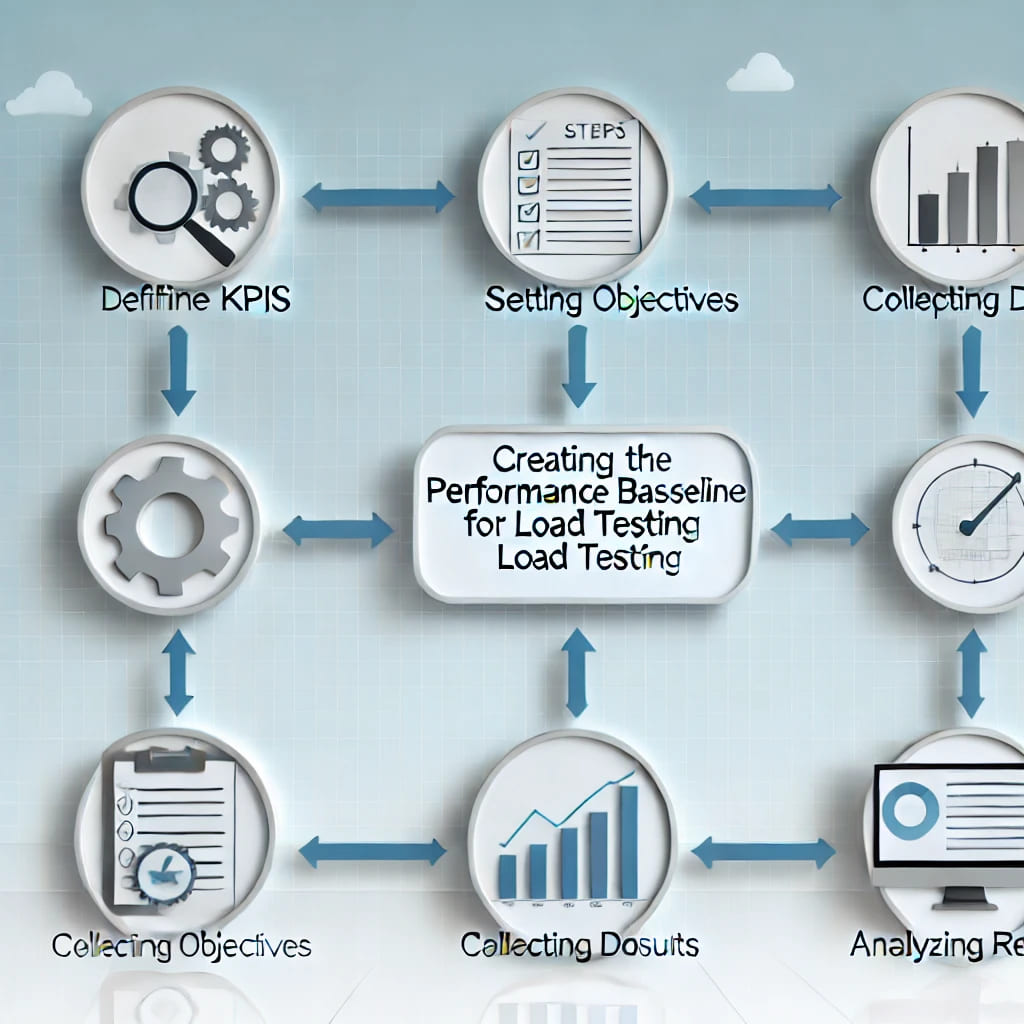
Quickly Establish a Performance Baseline: A Simple Guide for Immediate Results
Creating a performance baseline is a fundamental step in ensuring that your software applications run smoothly and efficiently. This guide will focus on how to quickly create a performance baseline ...

Understanding the difference between Virtual Users and Requests Per Second (RPS)
Introduction Hey there! If you’ve ever been curious about performance testing, you’ve probably come across the terms “Virtual Users” and “Requests Per Second (RPS)”. They might sound a bit technical, ...